

 English
 中文简体
中文简体 русский
 Español
 عربى
عربى
Submit feedback
how to get rubber hose on fitting: Practical Applications, Selection, Performance, and
Industry news-Content
- 1 Why a Rubber Hose Fights the Fitting
- 2 What to Have Within Reach
- 3 Four Ways to Get the Hose On
- 4 Step by Step: From Dry Fit to Clamped
- 5 Braided, Reinforced and Extra-Stiff Hose
- 6 Clamps: The Part That Actually Holds It On
- 7 Matching Hose Bore to Fitting Size
- 8 When It Is Time for a New Hose Instead
- 9 Mistakes We See Most Often
- 10 Questions We Get Asked
Few jobs in a workshop sound simpler than pushing a hose onto a fitting, and few jobs can swallow a whole afternoon quite so easily. The barb is a millimetre or two wider than the hose bore, the hose has been sitting in a cold garage, and your hands are already slick. Something has to give, and it is usually your patience.
We build silicone hoses for cooling, heating and charge-air systems, so we hear this question constantly, from professional fitters and weekend mechanics alike. The encouraging part is that there is no single magic trick here, only a handful of reliable techniques built on one principle: reduce friction for a moment, or make the hose briefly more willing to stretch.
Why a Rubber Hose Fights the Fitting
A barbed fitting is not designed to slide in easily. The two parts form an interference fit, which means the barb's outer diameter is deliberately larger than the hose bore, often by one to three millimetres. The ridges then bite into the hose wall, and that grip is what keeps the joint sealed even before a clamp does its work.
Time makes everything harder. Rubber stiffens as plasticisers migrate out of it, so a hose that was pliable when new can feel almost rigid after a few years of heat cycles. Cold makes it worse again, which is why a hose left overnight in an unheated workshop is at its least cooperative exactly when you need it.
Friction handles the rest. Rubber pushed dry against aluminium, brass or nylon grips hard and bunches up ahead of the barb instead of sliding over it. Silicone behaves similarly for different reasons: it stays flexible across a very wide temperature range, but its surface clings to metal even more stubbornly than rubber when dry.
What to Have Within Reach
None of these methods needs specialist equipment, but gathering everything first saves you from hunting for a jug of hot water with one hand holding a hose in place.
- A heat source: a kettle, a mug of hot water, or a heat gun on a low setting.
- A lubricant: soapy water, a drop of dish soap, or silicone grease.
- A freezer or a bag of ice if you prefer to chill the metal fitting.
- Safety glasses, because soapy water and hot hose ends find eyes eventually.
- A clean rag plus a small wire brush for the barb.
- Sharp hose cutters or a craft knife, and electrical tape for braided hose.
- Fresh clamps sized for the hose's outside diameter.
Four Ways to Get the Hose On
1. Soak the hose end in hot water
This is the oldest trick in the book, and for good reason. Immerse the last five to eight centimetres of hose in hot, not boiling, water for thirty to sixty seconds. Rubber softens, silicone becomes noticeably more pliable, and the hose often slides most of the way on by itself. If you use a heat gun instead, keep it moving and stop before the surface turns glossy, because that is where the material starts to degrade.
2. Lubricate the barb, not the whole hose
A thin film of soapy water on the fitting is usually enough to turn a five-minute fight into a two-second push. Diluted dish soap is the safest choice for both rubber and silicone. Silicone grease stays slippery longer, which helps on long runs or awkward angles. Avoid oil or petroleum jelly on rubber hose, since mineral oil attacks many rubber compounds. Wipe the excess away afterwards so it cannot contaminate the system fluid.
3. Chill the fitting instead
Metal contracts when cold, so a barb that has spent half an hour in a freezer can be measurably smaller, and the condensation that forms on it acts as a lubricant. This suits small fittings and very tight interference fits, and pairs well with warming the hose, because you are then attacking the problem from both directions.
4. Twist and walk it on
Pushing straight down is the least effective approach. Hold the hose at a slight angle, press the lip against one side of the barb, and rotate as you push. That twisting motion walks the material over each ridge in turn. If it stalls on the final ridge, a blunt pick slipped under the lip can lift it over, but never lever with a screwdriver: the flat blade tears the inner wall, and a torn liner is a leak waiting to happen.
| Method | Best for | Watch out for |
|---|---|---|
| Hot water soak | Rubber and silicone hose up to about 25 mm bore | Water left inside the system; burns if handled too soon |
| Soapy water or silicone grease | Almost any hose, especially long runs | Petroleum-based grease on rubber; slippery hands and tools |
| Chilling the fitting | Small metal barbs and very tight fits | Condensation on the barb; takes 20 to 30 minutes |
| Twist and walk it on | The final few millimetres | Levering with a screwdriver and tearing the inner wall |
Step by Step: From Dry Fit to Clamped
- Inspect the hose bore for cracks, swelling or a torn liner, and replace it if you find any.
- Clean the barb with a rag and a light scuff, removing burrs, old sealant and corrosion.
- Check the fit dry, so you know how much interference you are dealing with.
- Warm the hose end, then apply a thin lubricant film to the barb.
- Start the hose at a slight angle and twist it on with steady pressure.
- Seat it fully, so the hose covers every ridge and sits past the last one.
- Position the clamp over the barbed section, not on the very end of the hose, and tighten it evenly.
- Wipe away lubricant, run the system, and check for weeping at the joint once it is warm.
Braided, Reinforced and Extra-Stiff Hose
Reinforced hose is a different animal. A wire or fabric layer that stops the hose collapsing under suction also stops it stretching, so heat and soap will only take you so far. Cut the end square with proper hose cutters, because a ragged angle will never seal, and wrap the last few centimetres in electrical tape before you cut if the outer braid is loose. Some fitters chamfer the inner lip very slightly with a sharp blade to help it start, but keep that cut shallow, since you are removing material that the clamp relies on.
On braided hose with screw-together end fittings, the assembly method changes entirely: the hose is pushed into the socket first and the nipple is then threaded in, which pulls the hose onto the barb from the inside. Trying to force a braided hose onto a plain barb is usually a sign that the wrong style of fitting is in your hand.
Clamps: The Part That Actually Holds It On
The clamp decides whether the joint survives. Size it against the hose's outside diameter, not the bore, and pick a range where your measurement sits in the middle rather than at the extreme end. On silicone hose, clamping force matters more than clamp strength: a worm-drive clamp tightened hard will cut into the wall, while a T-bolt or spring-reinforced design spreads the load and keeps tension as the hose expands and contracts with temperature. Position the clamp directly over the barbed section and leave a few millimetres of hose beyond it. For the full sequence, our step-by-step hose clamp guide covers positioning and torque in more detail.
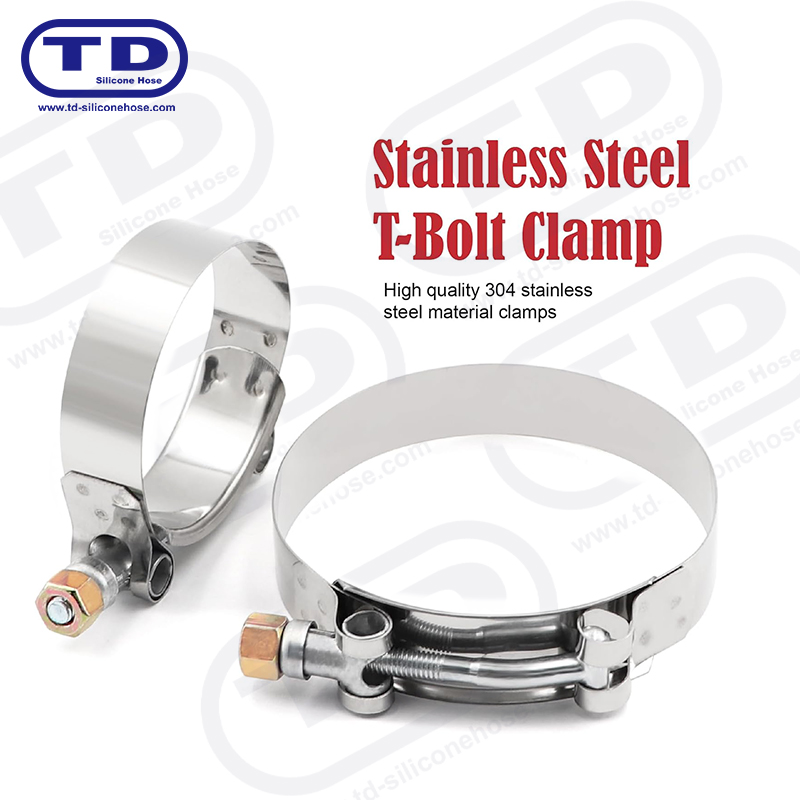 T-Bolt Silicone Hose Clamps for High-Vibration SystemsA T-bolt range for silicone hose connections, with standard and spring-reinforced options for high-vibration, thermally cycling systems.View Product →
Matching Hose Bore to Fitting Size
Most installation failures start before anyone picks up a hose. Measure the barb's outer diameter at its widest ridge, then compare it with the hose bore: a gap of one to three millimetres is workable, while anything beyond that means you are relying on stretch alone and the joint will eventually weep or split. Straight fittings are the easiest to work with, and a barb with a rolled bead at the end holds far better than a smooth spigot. Aluminium fittings with a proper bead, paired with a hose of the right wall thickness, remove most of the drama from the job.
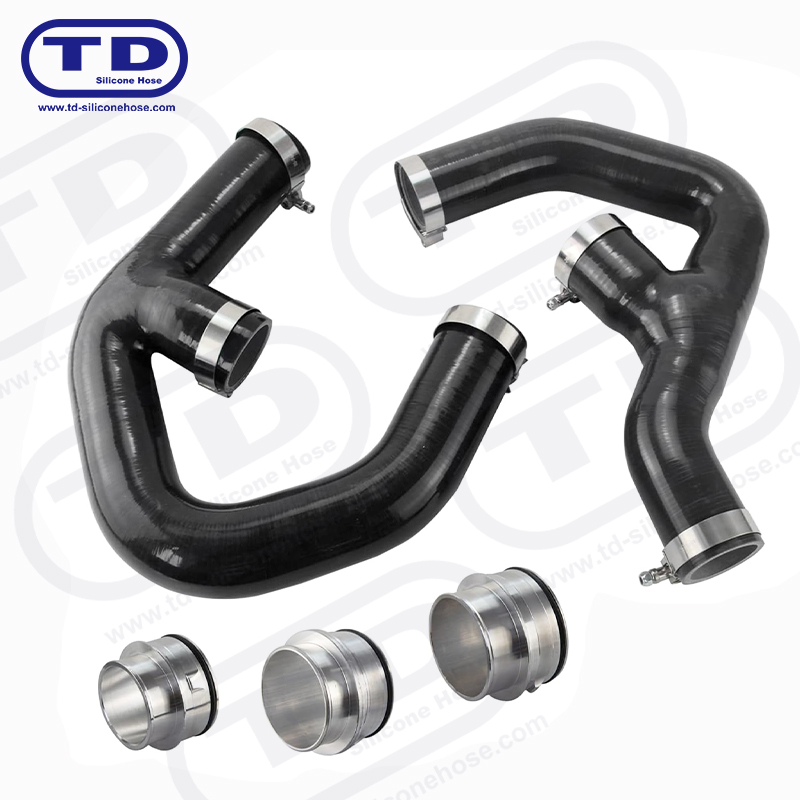 Custom Aluminum Fittings for Silicone Hose SystemsCustom aluminum fittings produced to drawing or sample, with straight, elbow, reducer, and turbo/intake connector options to match hose routing and measured joint dimensions.View Product →
When It Is Time for a New Hose Instead
There is a point where technique stops helping. If the hose has hardened into a permanent shape, if the bore has swollen so much that it slides on with no resistance at all, or if the inner liner peels when you flex it, the material is finished. Replacing it takes less time than fighting it, and a pre-shaped hose removes the guesswork about routing and cut length. You can browse our silicone hose range for straight, elbow, reducer and hump shapes if you want to match the original routing rather than improvise with a length of straight hose.
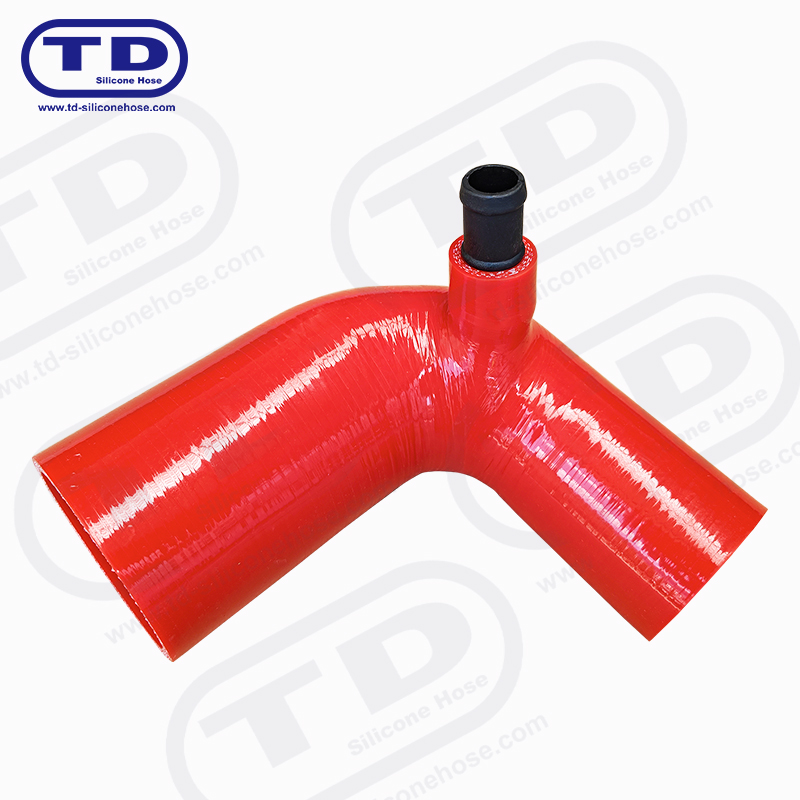 Application-Matched Silicone Hose Kits for Cooling and IntakeSystem-specific silicone hose kits for cooling, charge-air, intake, vacuum, and fuel-cell circuits, available with reinforced construction and matching hardware.View Product →
Mistakes We See Most Often
- Using oil or petroleum jelly to lubricate rubber hose, which quietly shortens its service life.
- Overheating the hose end with a heat gun until the surface glazes.
- Forcing a hose two sizes too small over a barb, then wondering why it splits at the clamp line.
- Clamping the very end of the hose instead of over the barbed section.
- Refitting an old clamp that has already lost its spring and tension.
- Leaving soap or grease inside a cooling system instead of wiping it away.
Questions We Get Asked
Is boiling water too hot for the hose?
It is fine for a short soak of thirty to sixty seconds, and most rubber and silicone compounds cope easily. Just handle the hose with gloves or pliers and let it cool slightly before you push it on, otherwise you will be wrestling with something hot and slippery.
What if the hose still will not go on?
Stop pushing and check the sizes again. A hose stretcher, a larger bore, or a stepped reducer fitting is a better answer than brute force. If the barb has a sharp square shoulder, a gentle chamfer on the metal will help far more than extra lubricant.
Does the same approach work on silicone hose?
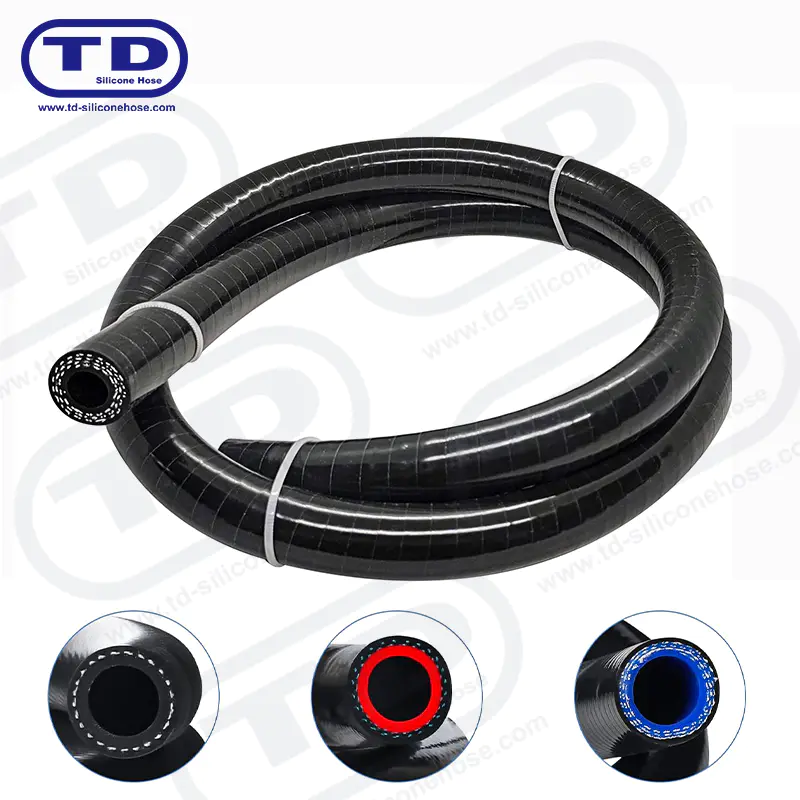
Yes, and silicone usually rewards heat even better than rubber because it tolerates much higher temperatures. Use silicone-safe lubricant, avoid petroleum products, and remember that silicone is more prone to slipping off under pressure, so clamp selection deserves extra attention.
Getting a hose over a fitting is really a matter of being patient for sixty seconds and impatient for none. Warm the hose, lubricate the barb, twist rather than push, and finish with a clamp that is sized correctly and sitting in the right place. Do those four things and the job that used to take an afternoon takes about two minutes.
If you are still choosing parts, match the bore to the barb before anything else. A hose and fitting that were designed to work together will always beat a hose that has to be forced.
Our Product //
Ningbo Tiandai Auto Parts Co., Ltd. All Rights Reserved. ALL RESERVED.
Wholesale Automotive Silicone Hose Manufacturers
