

 English
 中文简体
中文简体 русский
 Español
 عربى
عربى
Submit feedback
How to Get a Tight Radiator Hose On: Proven Methods That Actually Work
Industry news-Content
There are few things more frustrating than a new radiator hose that will not go on. You have already drained the coolant, removed the old cracked hose, and cleaned up the mess. Then the replacement fights you: it slides over the first few millimeters of the fitting and stops dead at the raised lip.
The truth is that a tight fit is not a design flaw. Radiator hoses are made with a deliberate interference fit so that they seal firmly once clamped. The challenge is simply getting the hose into place without tearing it or damaging the radiator outlet. With a little heat, a safe lubricant, and the right technique, you can get a tight radiator hose on in minutes. We hear about these struggles from customers all the time, so the advice below is what we share with them.
Why a New Radiator Hose Feels So Tight
Knowing why the hose resists makes the job easier. A new hose has a slightly smaller inner diameter than the metal or plastic outlet it is designed to cover, and that is intentional. The interference fit is what creates a leak-proof seal once the clamp is tightened.
A few additional factors can make the fit feel even tighter than expected:
- The fresh rubber or silicone compound has not been heat-cycled, so it still holds the exact shape from the mold, including a slightly closed-in end.
- Reinforcement fibers and thicker wall sections add stiffness near the ends of the hose.
- Cold workshop temperatures make the material noticeably stiffer.
- Old gasket residue, corrosion, or burrs on the outlet can catch and hang up the hose.
It also helps to remember that the same rule applies in the opposite direction: if a hose slips on with no resistance at all, it will probably leak under pressure. A snug fit is your friend. And once you understand the cause, the fix becomes a matter of reducing friction and increasing the pliability of the hose. If you are doing a full cooling-system refresh, our step-by-step silicone hose installation guide covers the complete sequence from draining the coolant to tightening the final clamp.
Prepare the Hose and the Fitting First
A little preparation prevents most of the fighting. Before you pick up the new hose, confirm that the part is actually the right size. Measure the outer diameter of the outlet with a caliper, not the old hose, because aged hoses can be swollen, distorted, or coated with hardened coolant residue.
- Measure the fitting with a caliper and compare it with the inner diameter of the new hose; radiator outlets can vary by a millimeter or two between brands.
- Clean the outlet with a plastic scraper or fine abrasive pad to remove old gasket material and rust.
- Inspect the neck for burrs, dents, or cracks; a damaged outlet will always fight the hose.
- Slide the clamps onto the hose before installation, because there is no room to fit them once the hose is seated.
- Keep hot water, a clean cloth, and a bottle of diluted dish soap within reach.
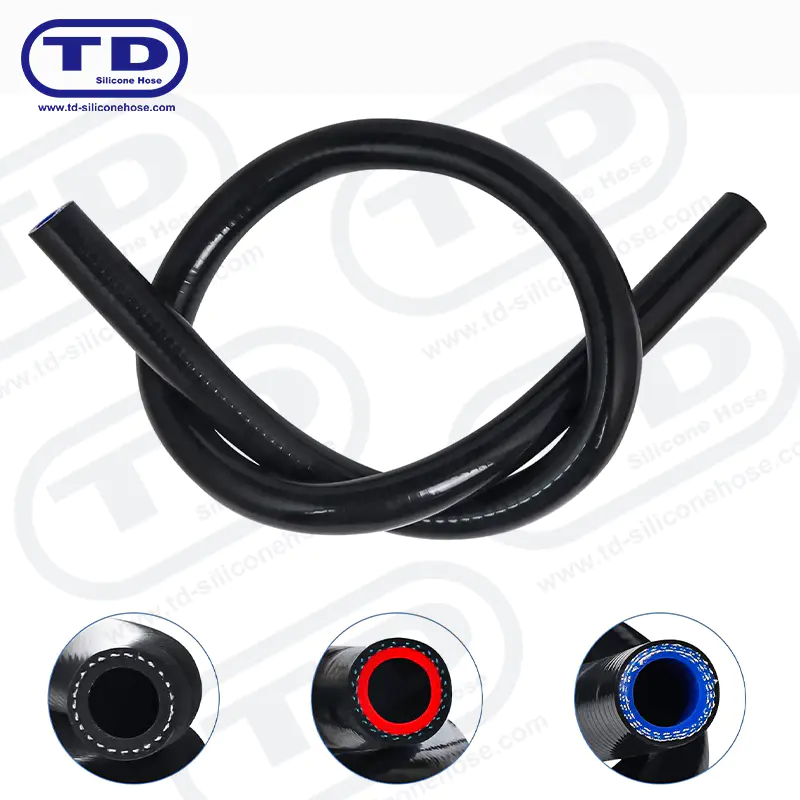
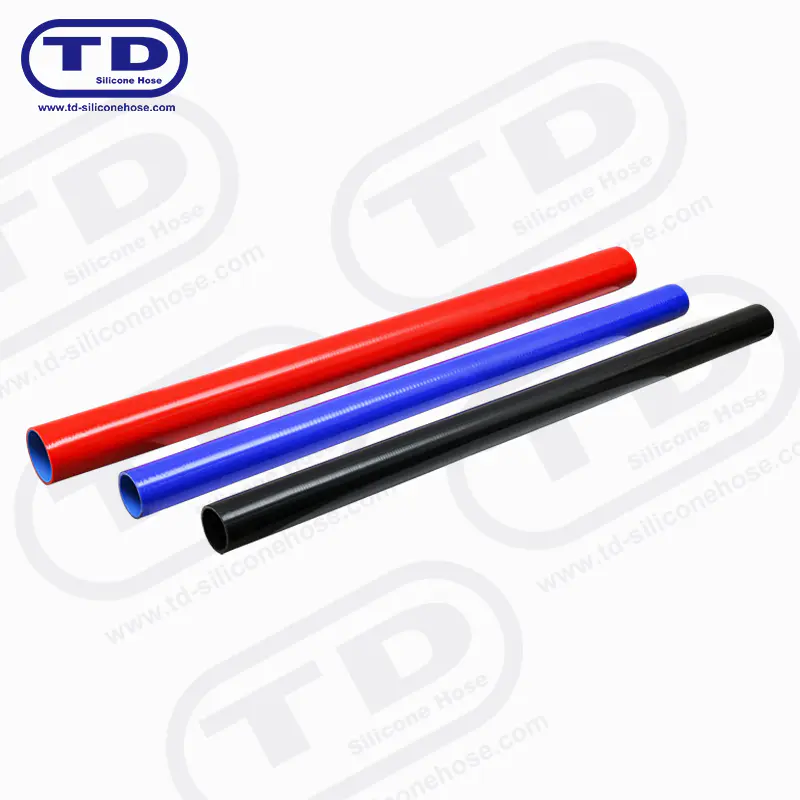
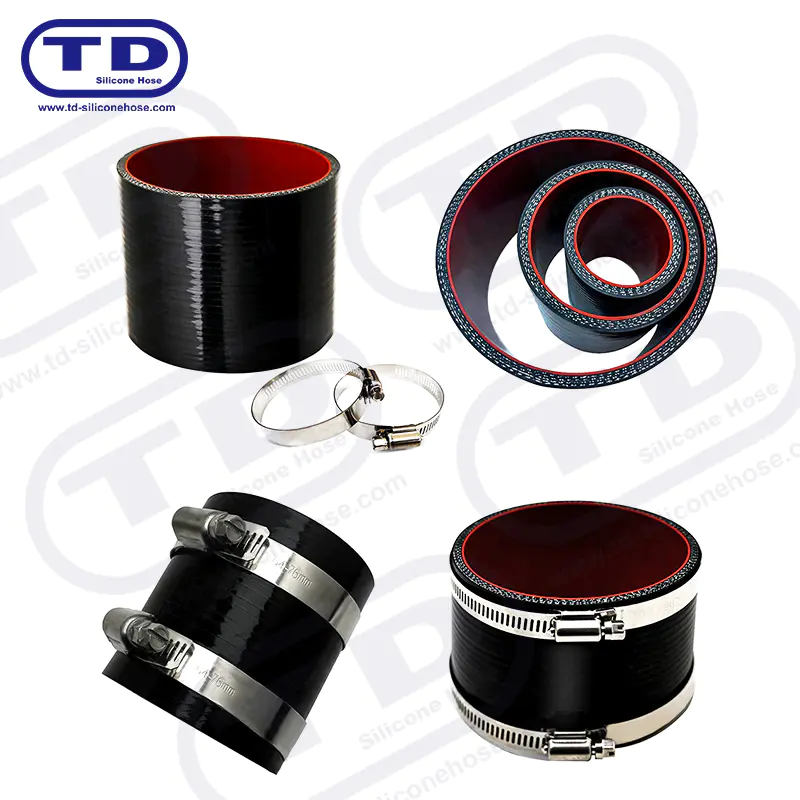
If the old hose is hardened or cracked, replacing it with a fresh silicone radiator hose removes most of the struggle before it starts, because silicone stays flexible and resists coolant far longer than aged rubber.
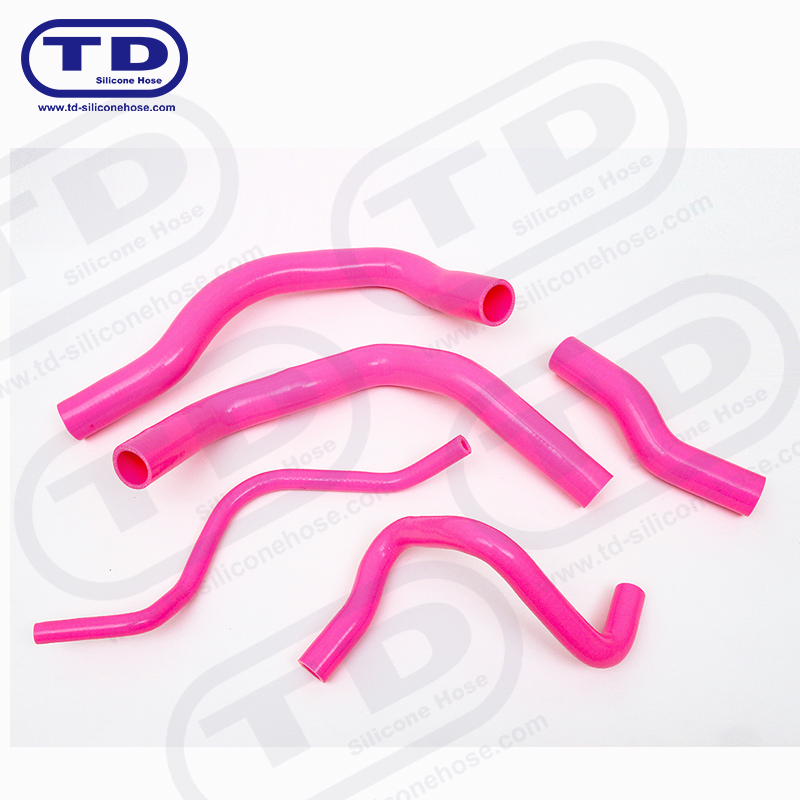 Replacement Silicone Radiator Hose Kits for Automotive Cooling SystemsFlexible silicone radiator hoses resist aging and coolant better than hardened rubber, simplifying removal and replacement of worn or cracked radiator hoses.View Product →
Proven Ways to Get a Tight Radiator Hose On
All the reliable methods work on the same principle: make the hose more pliable and reduce friction. Choose the technique that fits the tools you have on hand.
Warm the End of the Hose
Heat is the fastest way to soften a new hose end. Dip the last two or three inches into hot water for 60 to 90 seconds, then move quickly while the material is still warm. If you use a heat gun, keep it on a low or medium setting and keep it moving so the surface does not scorch. Never use an open flame.
Lubricate with Soapy Water or Silicone Lube
A thin film of diluted dish soap or a dedicated silicone lubricant is the single most effective trick for a tight hose. It lets the inner wall slide over the lip instead of catching on it. Petroleum-based products are a different story:
- Diluted dish soap works well and washes off easily.
- Silicone lubricant or rubber assembly lube lasts longer and works best on stubborn fittings.
- Never use motor oil, grease, brake fluid, or petroleum-based sprays, because they attack rubber and silicone.
Twist and Rock the Hose into Place
Do not push straight on. Grip the hose close to the end and twist it back and forth like a jar lid while you push forward. The rotating motion helps the hose walk over the raised shoulder of the fitting. Use one hand to stabilize the outlet and the other to twist. Most hoses seat in three or four turns once the first edge clears the lip.
Stretch the Hose with a Hose Expander
A hose expander tool spreads the end of the hose open so it slides over a barbed fitting almost effortlessly. Insert the tool, open it gently, and release it once the hose is seated. If you do not have an expander, a plastic trim tool can guide the lip of the hose over the barb while someone else twists the hose. Avoid sharp screwdrivers, which can puncture the wall.
Troubleshooting: When the Hose Still Will Not Go On
If the hose still refuses to move, stop forcing it. Hammering or prying against a stuck hose damages the outlet and splits the hose. Look for the real cause instead.
| Symptom | Likely Cause | Solution |
|---|---|---|
| Hose will not start over the lip | Cold compound or burrs on the outlet | Warm the hose and clean the outlet |
| Hose starts but stops at the barb | Inner lip snags on a sharp edge | Apply silicone lube and twist steadily |
| Hose slides on but feels loose | Hose too large or outlet undersized | Measure both parts and use the correct size |
| Fitting is deformed or pitted | Corrosion or damage from the old hose | Replace the outlet before installing |
Another common mistake is cutting a molded radiator hose to gain reach. A molded hose is shaped for a specific route, and trimming it only shortens the reach and often moves the clamp onto a curved section, where it distorts the seal.
If the radiator outlet itself is bent, pitted, or scored, no amount of heat and lubricant will produce a dependable seal. Replace the damaged neck with a clean aluminum fitting, which gives the clamp a smooth, round surface to grip.
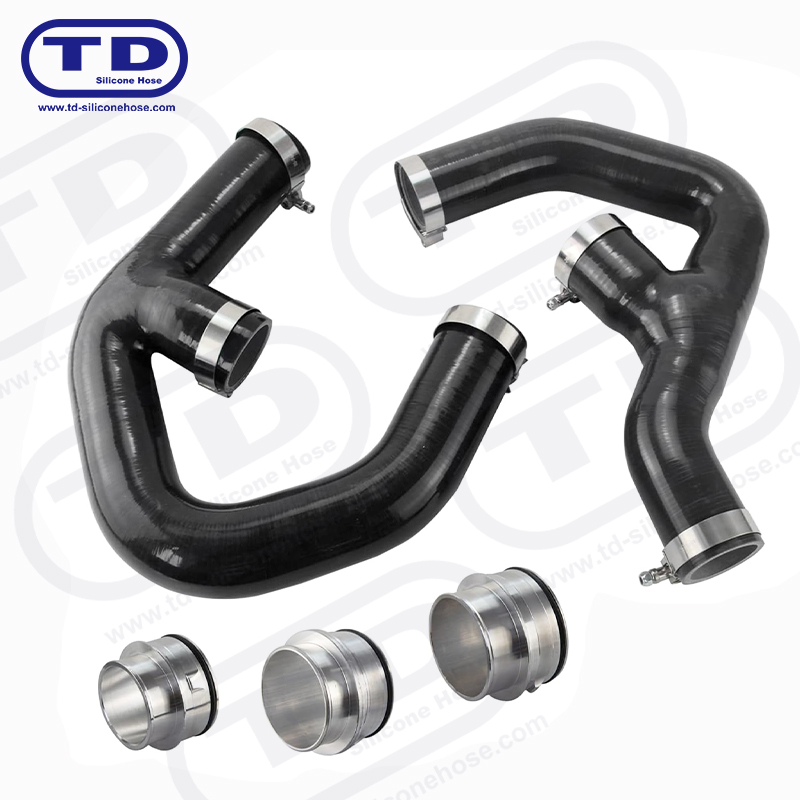 Custom Aluminum Fittings for Silicone Hose ApplicationsAluminum fittings provide a smooth, round surface for clamp sealing, replacing damaged radiator necks to ensure a dependable seal on silicone hoses.View Product →
Clamp It Correctly
Once the hose is fully seated, position the clamp just behind the raised shoulder of the fitting. A clamp sitting too far back only squeezes empty hose, while a clamp on the very edge can slide off under pressure.
Choose the clamp that matches the application. Spring clamps adjust with temperature changes, worm-gear clamps are the general-purpose standard, and T-bolt clamps deliver even, high clamping force for thick-walled or large-diameter hoses.
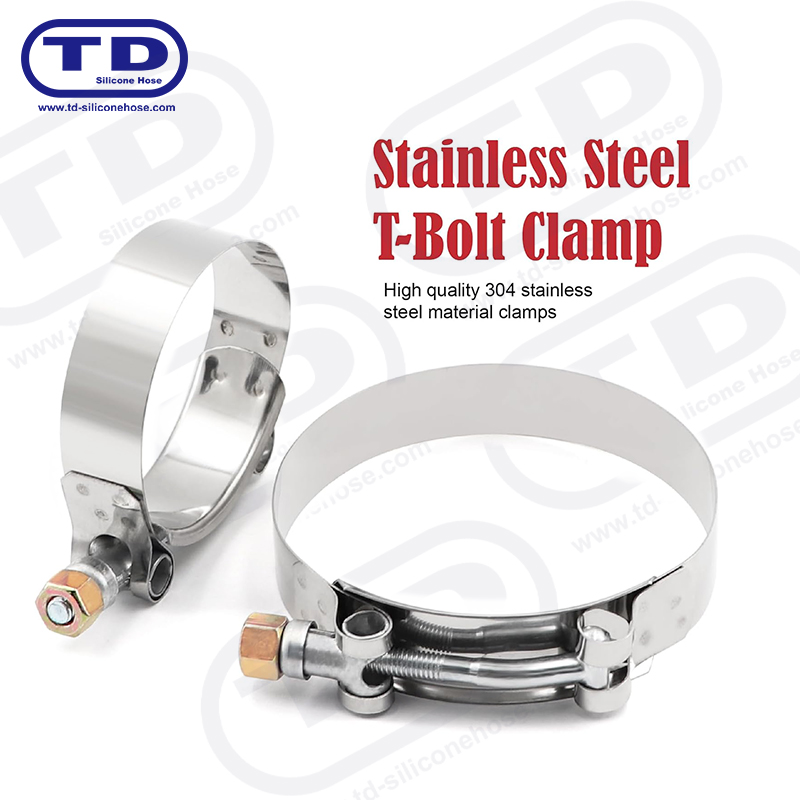 Heavy-Duty Stainless Steel T-Bolt Silicone Hose ClampsSUS 304 stainless steel T-bolt clamps apply even, high clamping force for thick-walled or large-diameter hoses, avoiding cuts and maintaining tight seals.View Product →
Tighten the clamp only enough to compress the hose wall against the fitting. Overtightening can cut into the hose, and silicone hoses in particular need a clamp that spreads the load evenly. Also inspect the clamp for sharp edges; a rough slot or burr can damage the hose as you tighten it. After the engine reaches normal operating temperature, re-check each clamp and retighten if the hose has settled.
Final Thoughts
A tight radiator hose stops being a problem once you know the routine: warm the end, use a safe lubricant, twist instead of forcing, and clamp it in the right spot. Each step is simple, but together they turn the most stubborn hose job into a quick, clean task.
If you are tired of wrestling with aged rubber hoses in your workshop, consider switching to silicone. As a silicone hose manufacturer, we have spent years producing hoses and cooling-system connectors for cars, trucks, buses, and motorsport builds, with more than 1,500 configurations in our lineup. Whatever you work on, a little preparation and the right components will keep the coolant where it belongs.
Our Product //
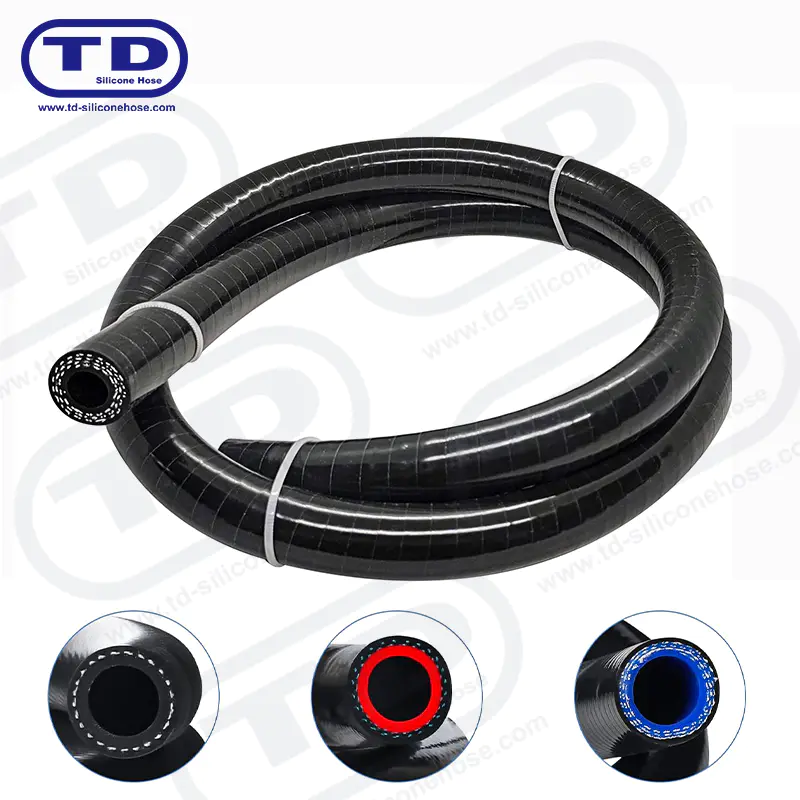
Ningbo Tiandai Auto Parts Co., Ltd. All Rights Reserved. ALL RESERVED.
Wholesale Automotive Silicone Hose Manufacturers
